Spud's "The Definition of Ghetto-Rigged" M90 Supercharger Build Thread (lotsa pics)
A couple months ago I saw the reddevil and Skidd build threads (congrats on the recent success Skidd!) and after sleeping on it that night, I couldn't think about anything other than how I was gonna do my car next I was gonna go with a Raptor system, but after learning they weren't ready for my model year, I decided to just make one myself.
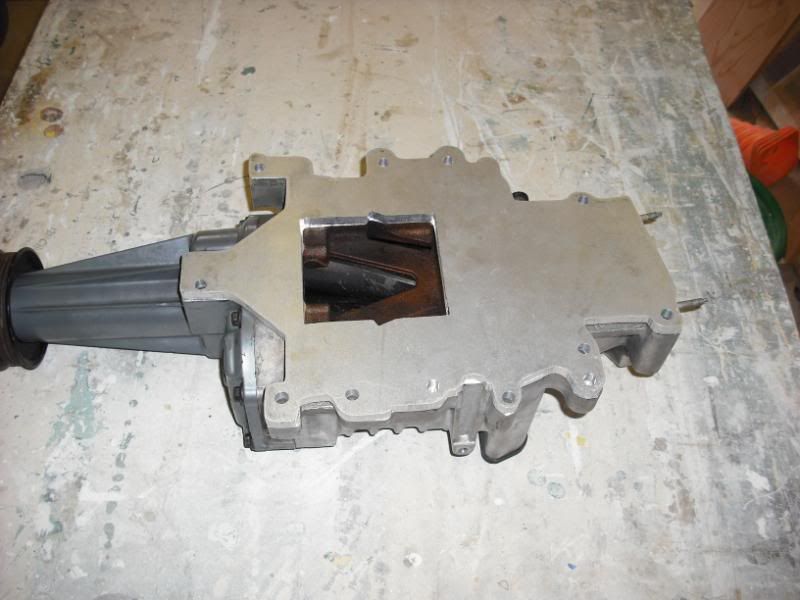
So I went on eBay and got this:
![Image]()
And this:
![Image]()
Everybody said the SC (came from a Thunderbird 3.8) was way too big, but heh, I figured I'd just deal with that when I started taking measurements As for the welder, I had never welded before, but I figured that I could teach myself easily enough, and that Flux Core was the easiest way to start
*Skip a month or two as I learn my way through ROMRaider and reflashing stuff. Tuning the ECU is almost as fun as putting in a supercharger, btw*
Easter weekend was a 3 day time off from work, so I decided I would try and get the whole thing done then.
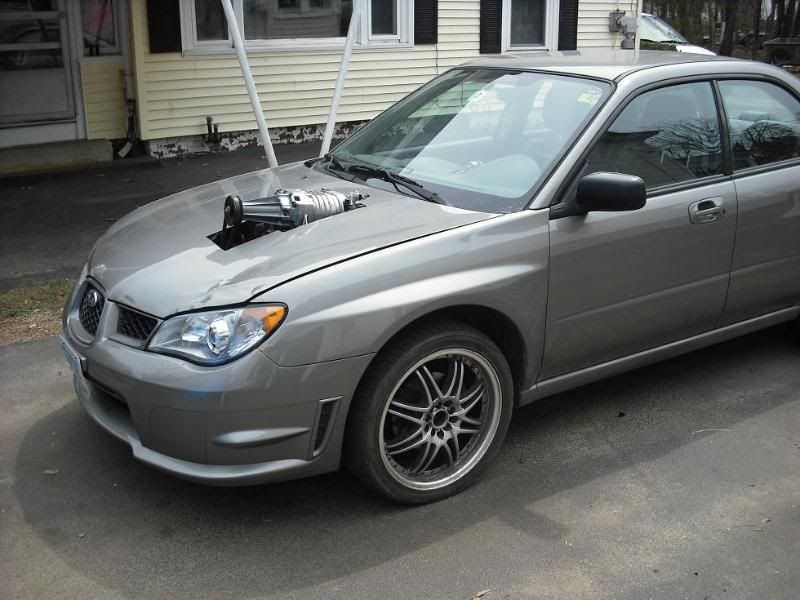
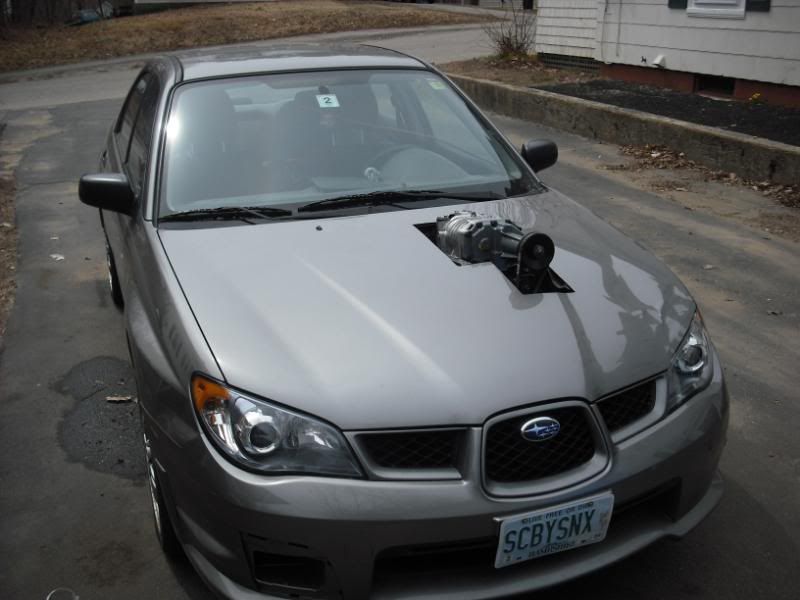
First things first, I had to see what it would look like, so I plopped it ontop of the install location and stared and daydreamed for about half an hour haha
![Image]()
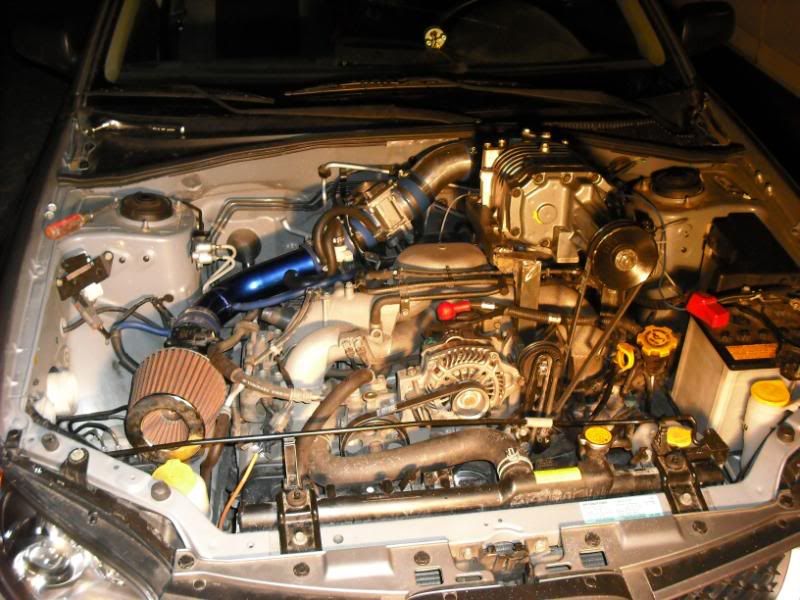
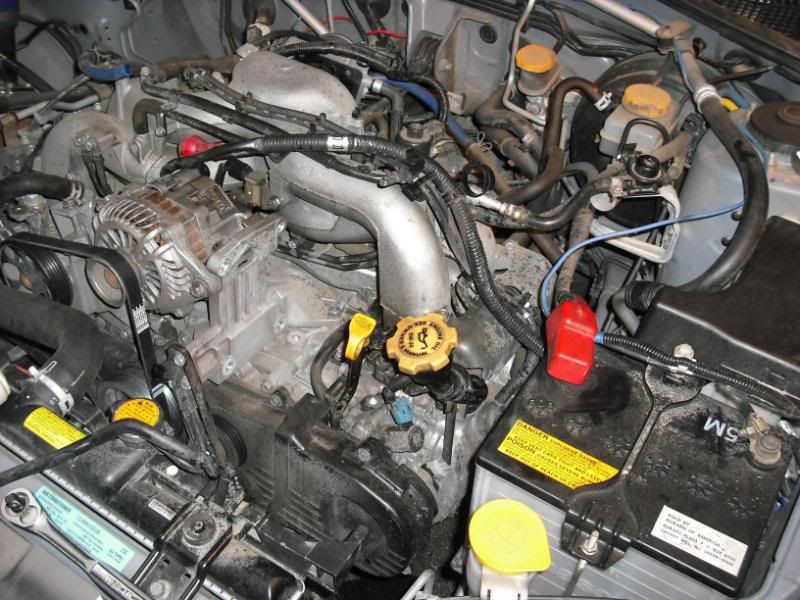
What's that blasted thing in the way of where the supercharger belt is gonna go?
![Image]()
Ohhhh it's the AC.. We can fix that- Just get me a fan and some pliers lol (no I don't recomment this, it's probably illegal and cancerous and everything else bad) This thing was blasting freon for like 5 minutes, I was really surprised by how much of that crap was in there
![Image]()
All better!
![Image]()
(continued below)
A couple months ago I saw the reddevil and Skidd build threads (congrats on the recent success Skidd!) and after sleeping on it that night, I couldn't think about anything other than how I was gonna do my car next
I was gonna go with a Raptor system, but after learning they weren't ready for my model year, I decided to just make one myself.So I went on eBay and got this:

And this:

Everybody said the SC (came from a Thunderbird 3.8) was way too big, but heh, I figured I'd just deal with that when I started taking measurements
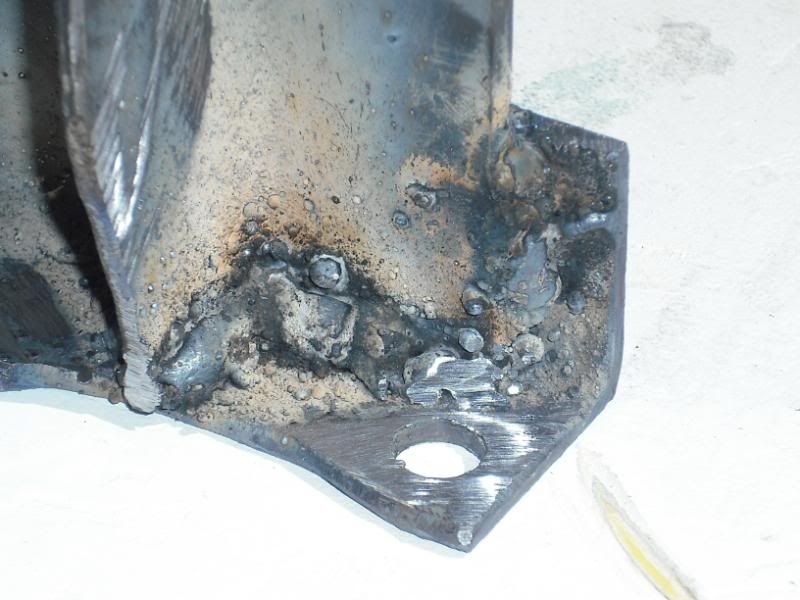
As for the welder, I had never welded before, but I figured that I could teach myself easily enough, and that Flux Core was the easiest way to start*Skip a month or two as I learn my way through ROMRaider and reflashing stuff. Tuning the ECU is almost as fun as putting in a supercharger, btw*
Easter weekend was a 3 day time off from work, so I decided I would try and get the whole thing done then.
First things first, I had to see what it would look like, so I plopped it ontop of the install location and stared and daydreamed for about half an hour haha

What's that blasted thing in the way of where the supercharger belt is gonna go?
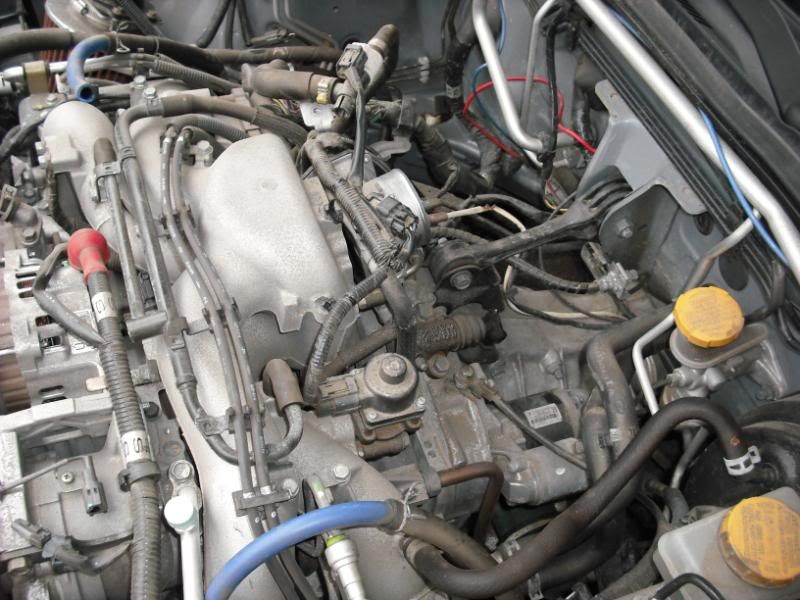
Ohhhh it's the AC.. We can fix that- Just get me a fan and some pliers lol (no I don't recomment this, it's probably illegal and cancerous and everything else bad) This thing was blasting freon for like 5 minutes, I was really surprised by how much of that crap was in there

All better!
(continued below)