

This is a quick DIY for anyone that needs to replace the steering rack on your Impreza. This was done on Davids (RS.Wagon) 1994 Subaru Impreza AWD with the EJ18. There may be slight differences in the procedure depending on the year/engine in your car, however it shouldnt be too different.
Disclaimer: If you dont know what you are doing, please dont hurt yourself and take it to a shop. I'm in no way responsible if you hurt yourself or others or damage your car following these procedures. Use at your own risk!
sorry for the poor picture quality, my camera blows
here's what we did:
1) Make sure your old rack in completely toast! do this by rallying the piss out of your car in the middle of the night and running over a rail road tie. Make sure a good amount of Power steering fluid is pissing on your exhaust, enough to make smoke come pouring out of your hood.
![Image]()
2) Man up and admit your screwed the pooch. go buy a new rack! (i dont have any pictures of the rallying part unfortunately)
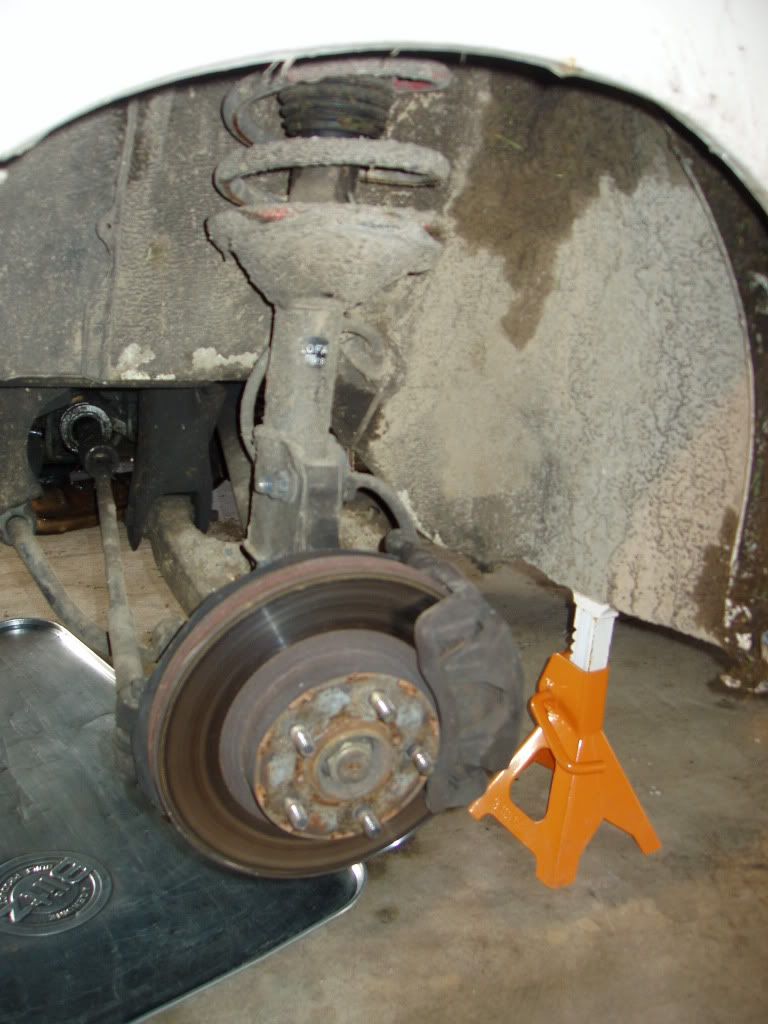
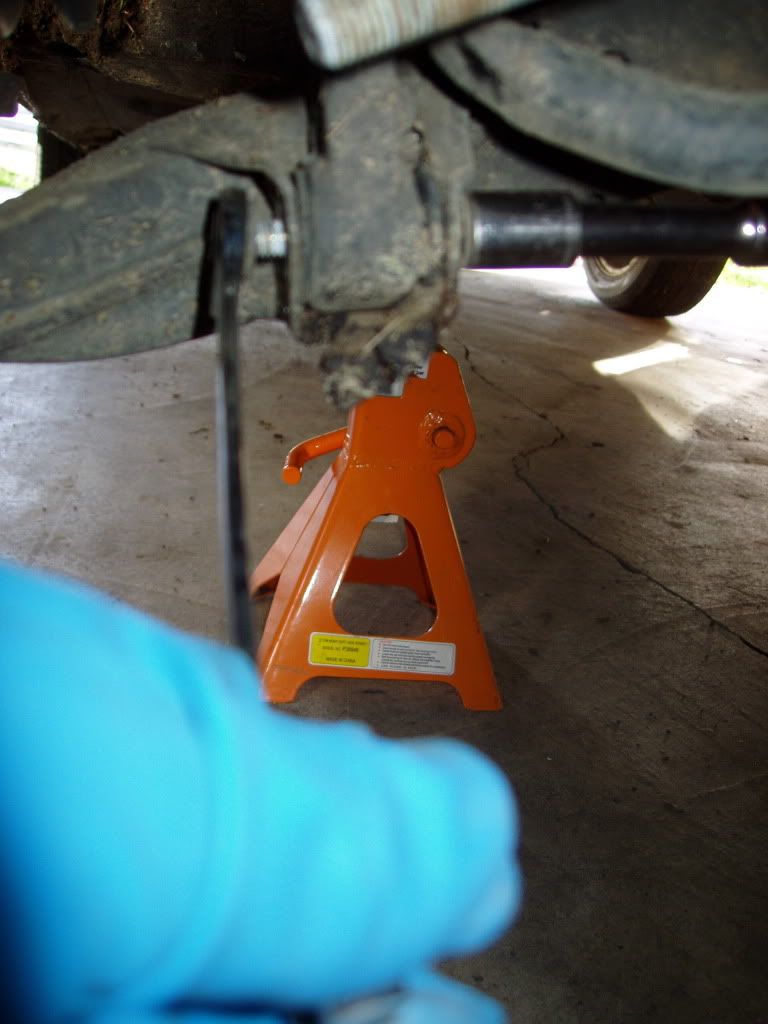
3) jack the car up using jack stands on a level surface.
4) take the front wheels off
![Image]()
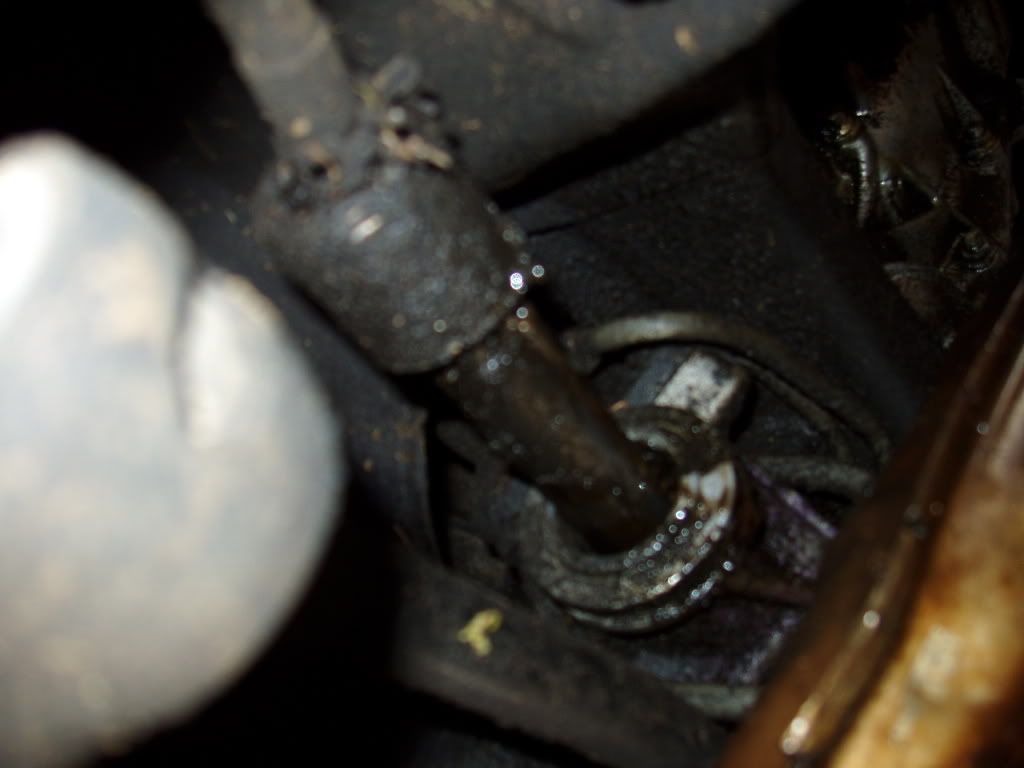
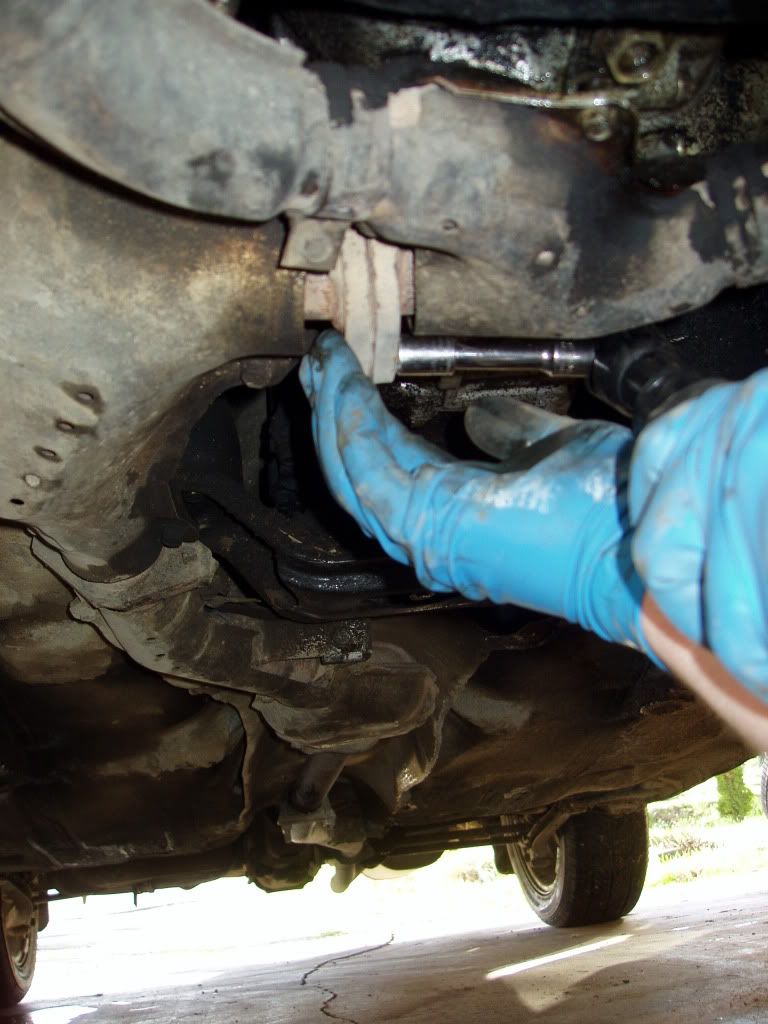
5) Take off the castle nut on your outer tie rod ends by first removing the cotter pin and then spinning the 19mm nut.
![Image]()
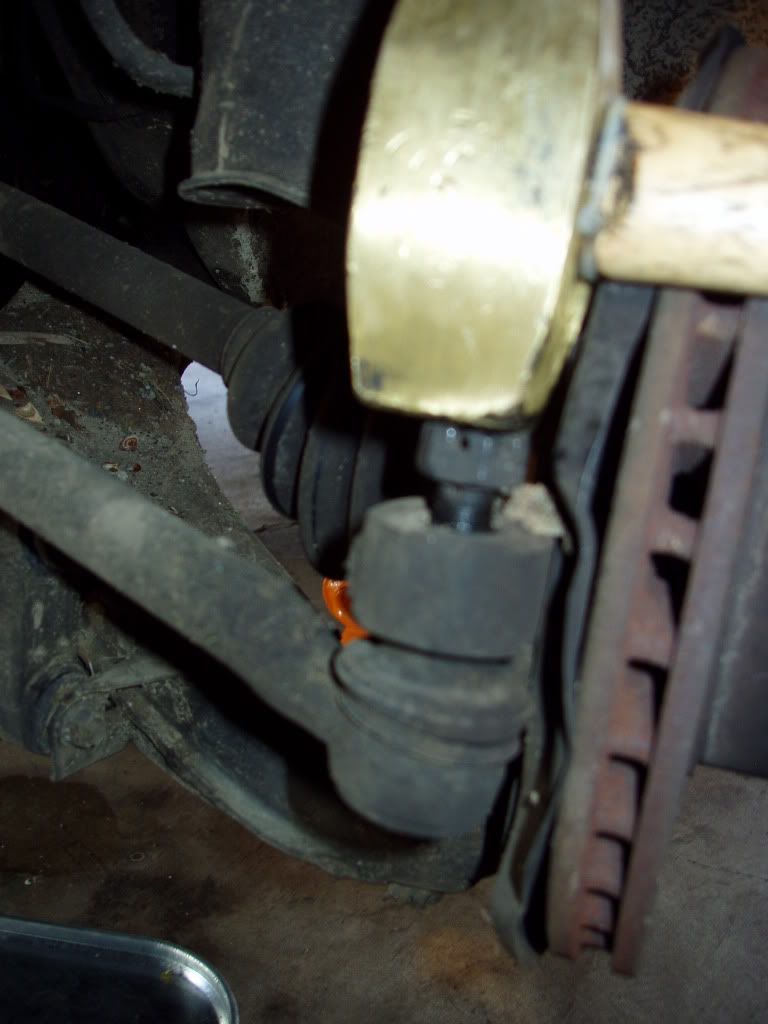
6) take a brass hammer and tap the tie rod ends out, if needed, spin the castle nut onto the tie rod end again so it sits flush with the beginning of the stud and tap on it, make sure not to damage the threads otherwise your buying a new tie rod end (may not be a bad idea depending on the condition of yours)
![Image]()
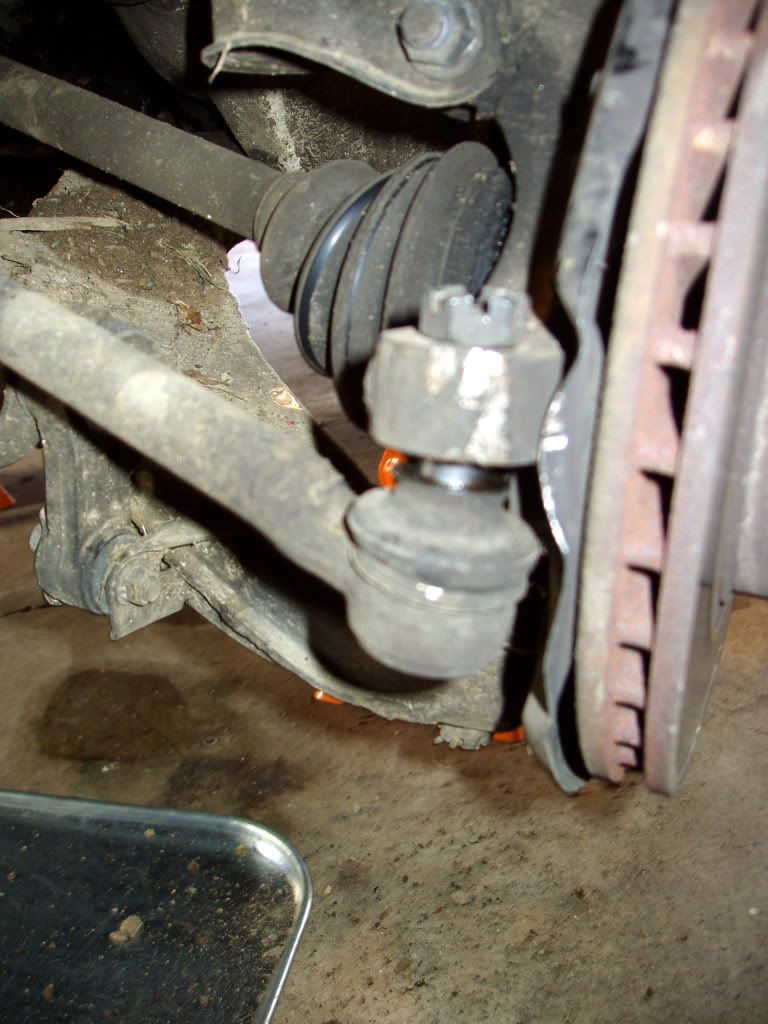
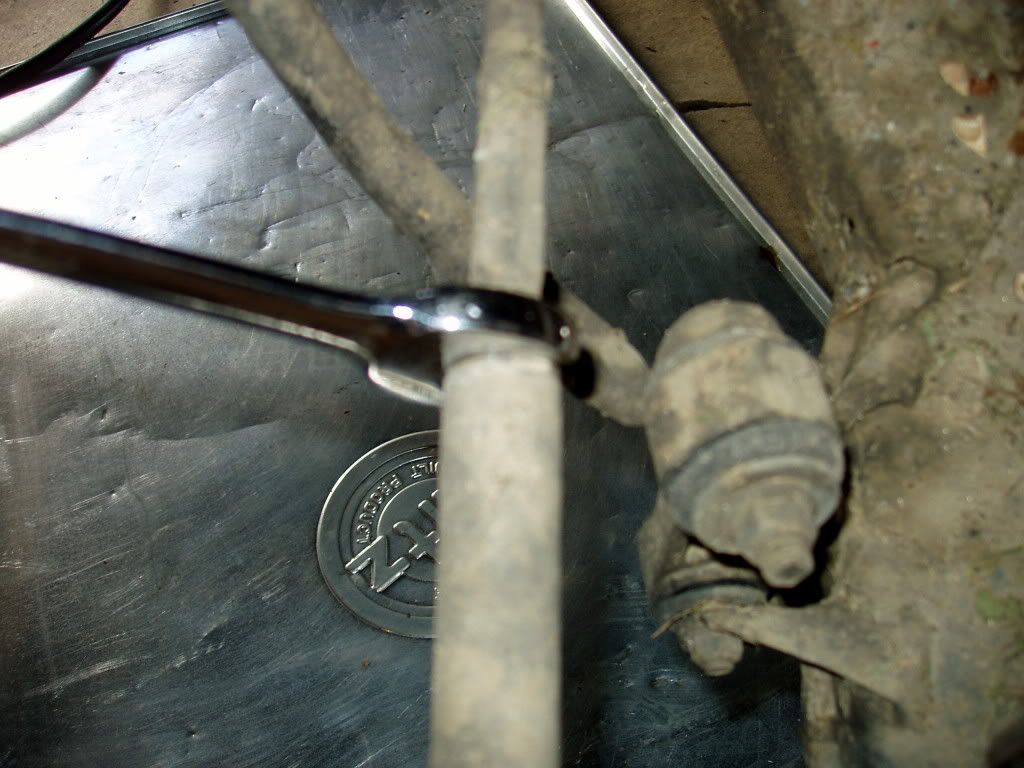
7) undo the lock nuts holding the outer tie rod end in place (19mm wrench i think)
![Image]()
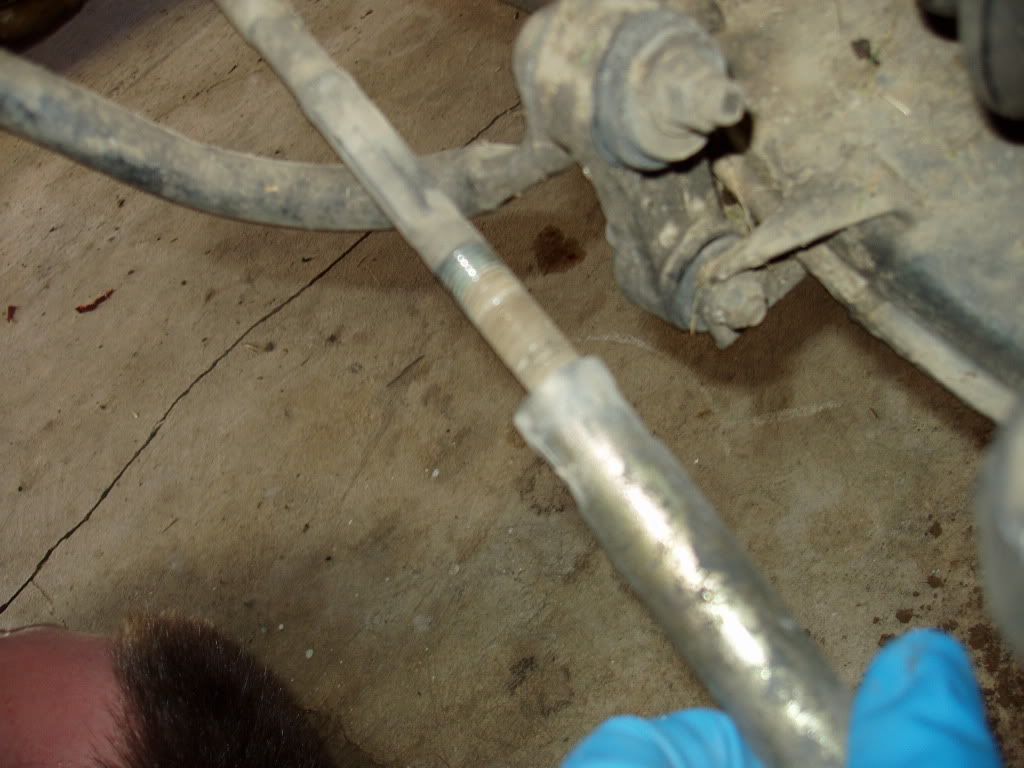
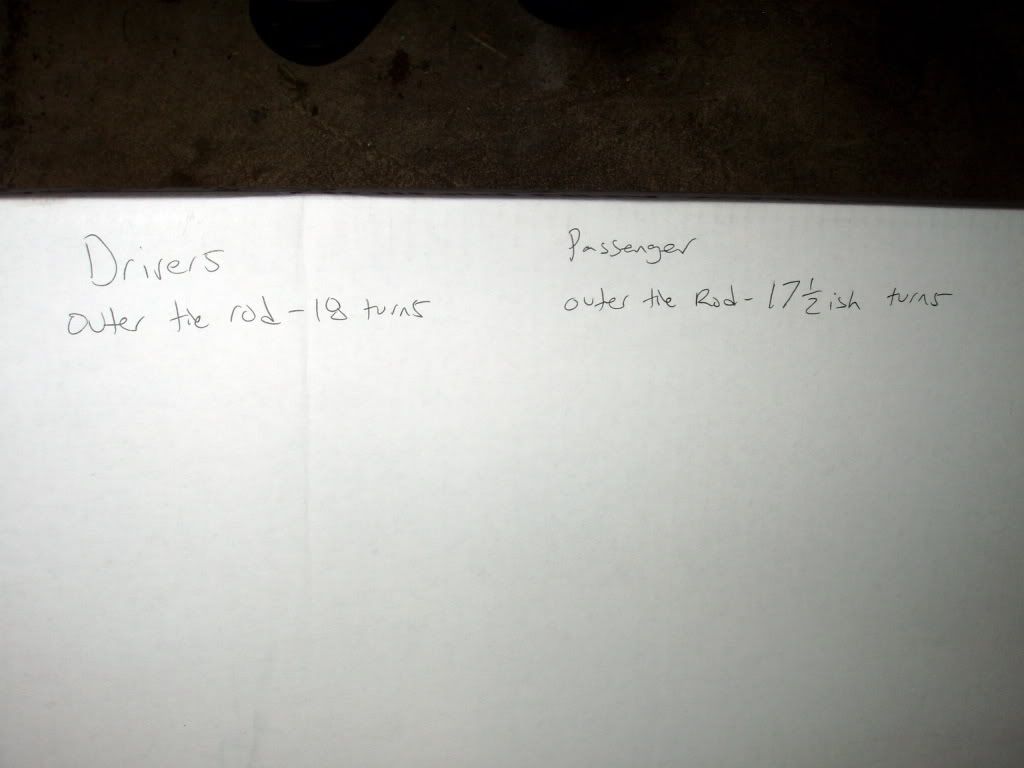
8) Untwist the outer tie rod ends from the inner and count the number of turns it takes to come off (this comes in handy when putting them back on). Write this down somewhere!
![Image]()
![Image]()
9)Undo the exhaust manifold. there are 6 nuts holding it on the the heads (14mm deep socket) and two on the cat pipe (14mm bolts/ nuts) you'll need a 14mm wrench to keep the nut on the other side from spinning
![Image]()
![Image]()
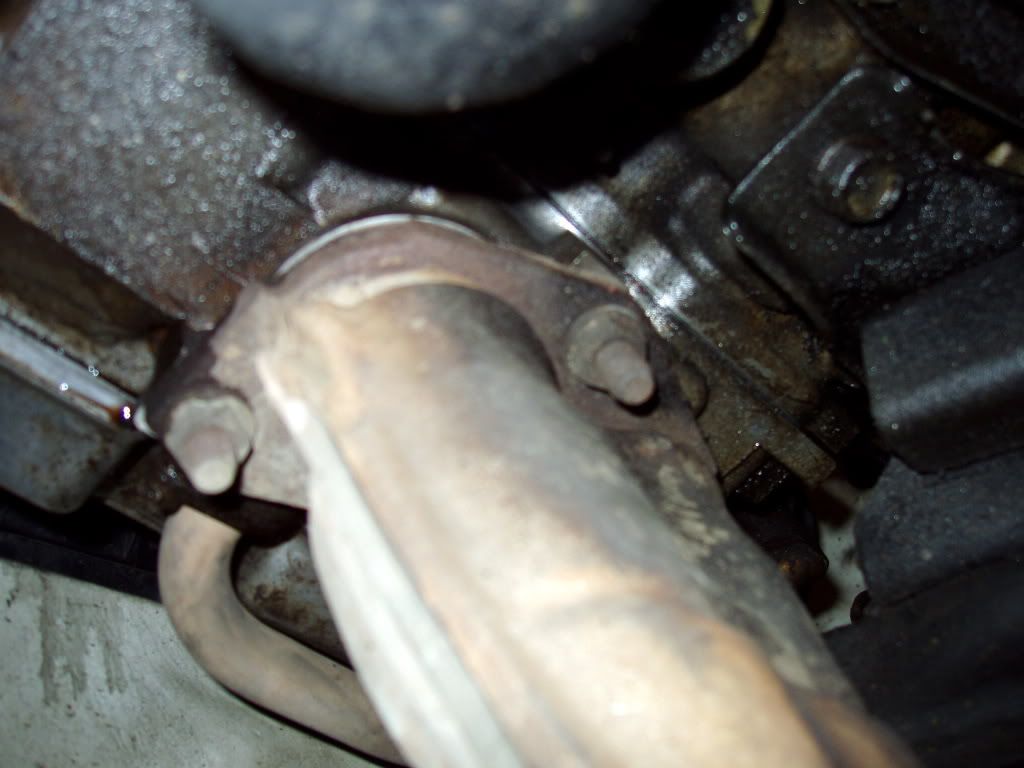
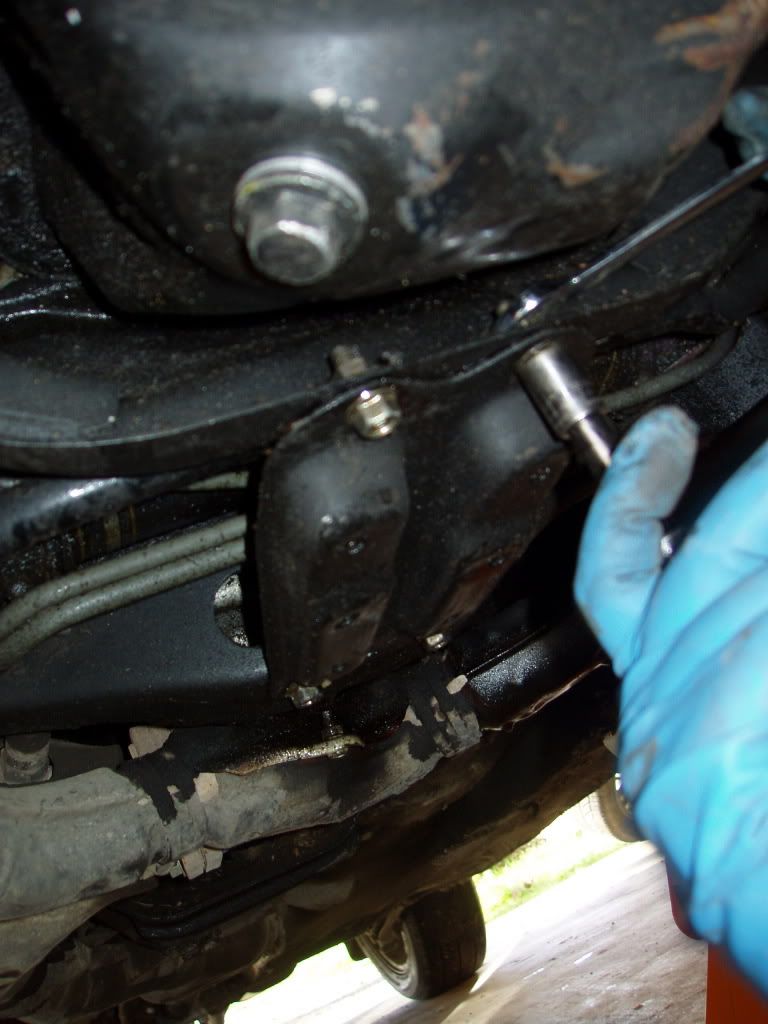
10) undo the small black plate seen there (14mm bolt/nut)
![Image]()
11)Undo the front sway bar. there are through bolts on each end link that you can take off and one bolt on each of the two brackets holding it on to the chassis.
![Image]()
![Image]()
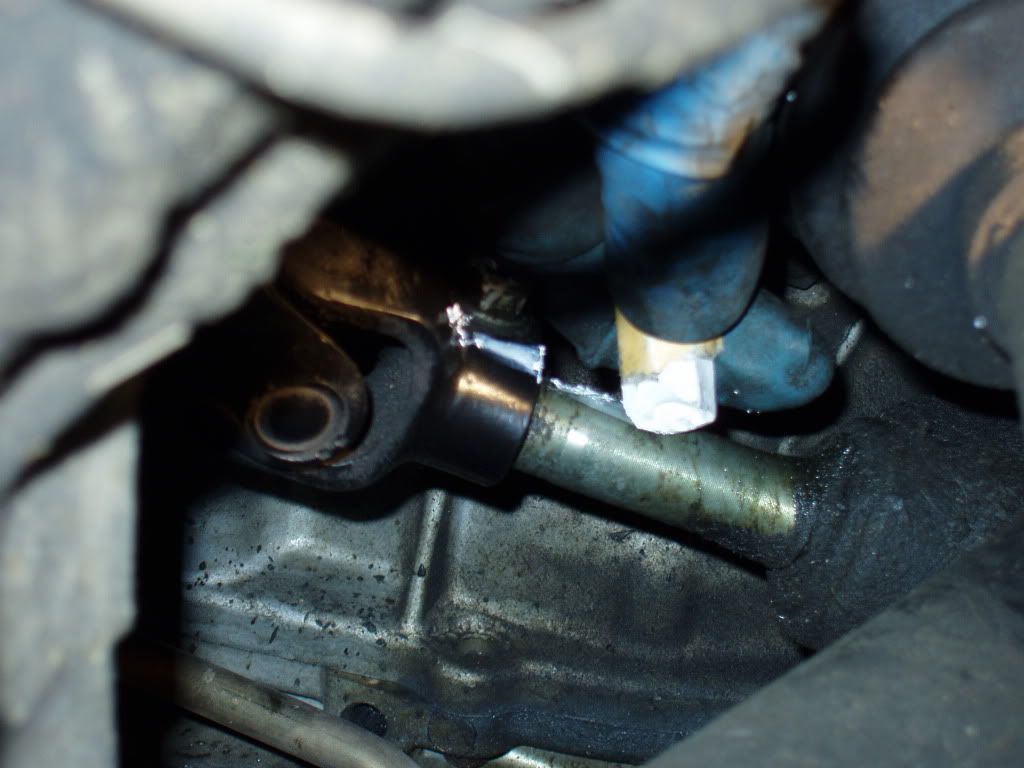
12) center the steering wheel and mark the steering knuckle and the input to the steering box. We did this but ended up not using the marks since we put in a new rack. Loosen the bolt clamping the joint onto the shaft. Note: make sure not to spin the steering wheel with the column detached from the rack, you may destroy your clockspring.
![Image]()
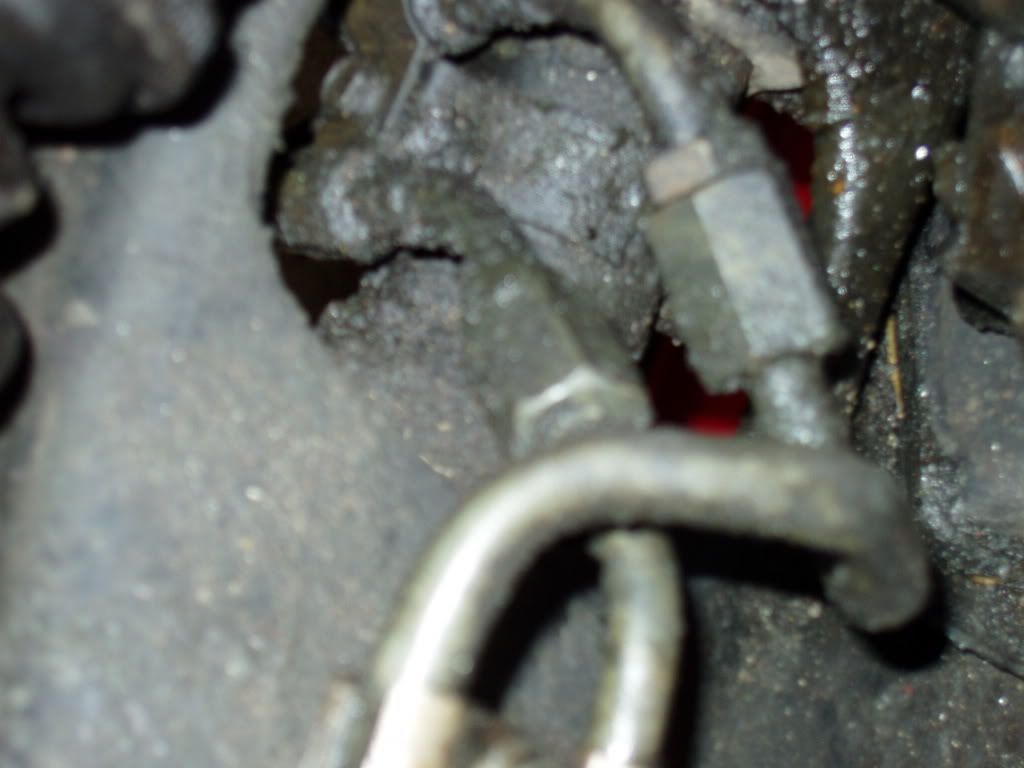
13) place a drip pan under the rack if you havnt already and undo the power steering lines. there are 2 lines, one takes a 17mm i think and one takes a 14mm. its impossible to hook it back up the wrong lol. subaru was thinking
![Image]()
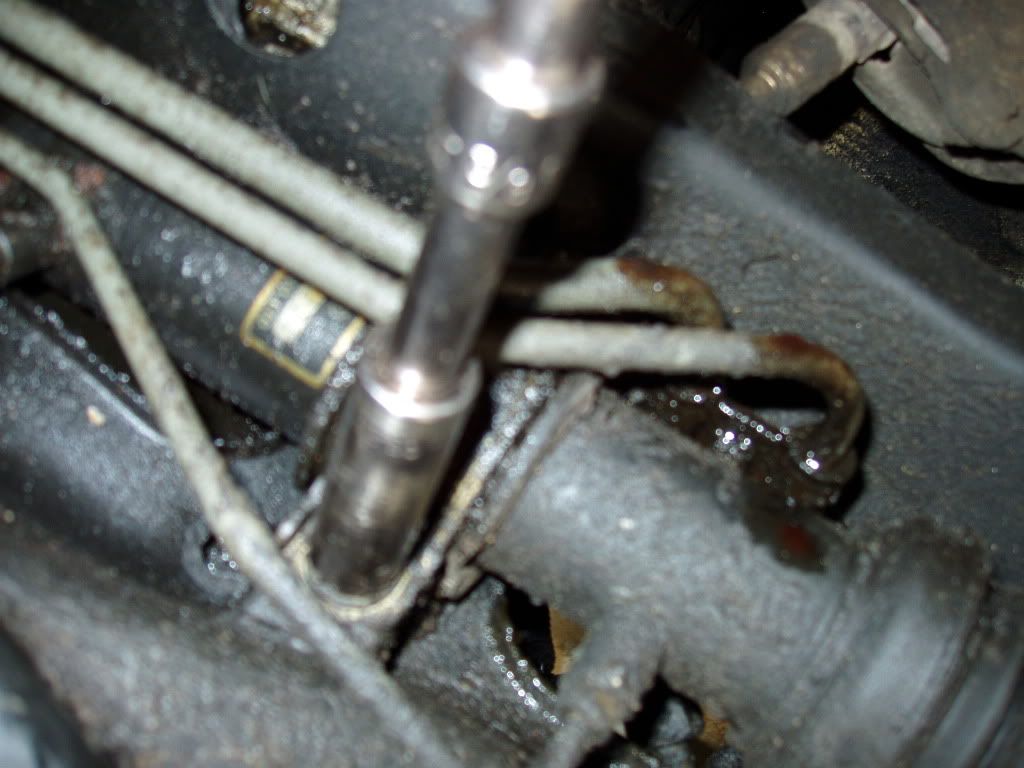
14) Undo the 4 bolts holding the power steering rack in 14mm i believe
![Image]()
![Image]()
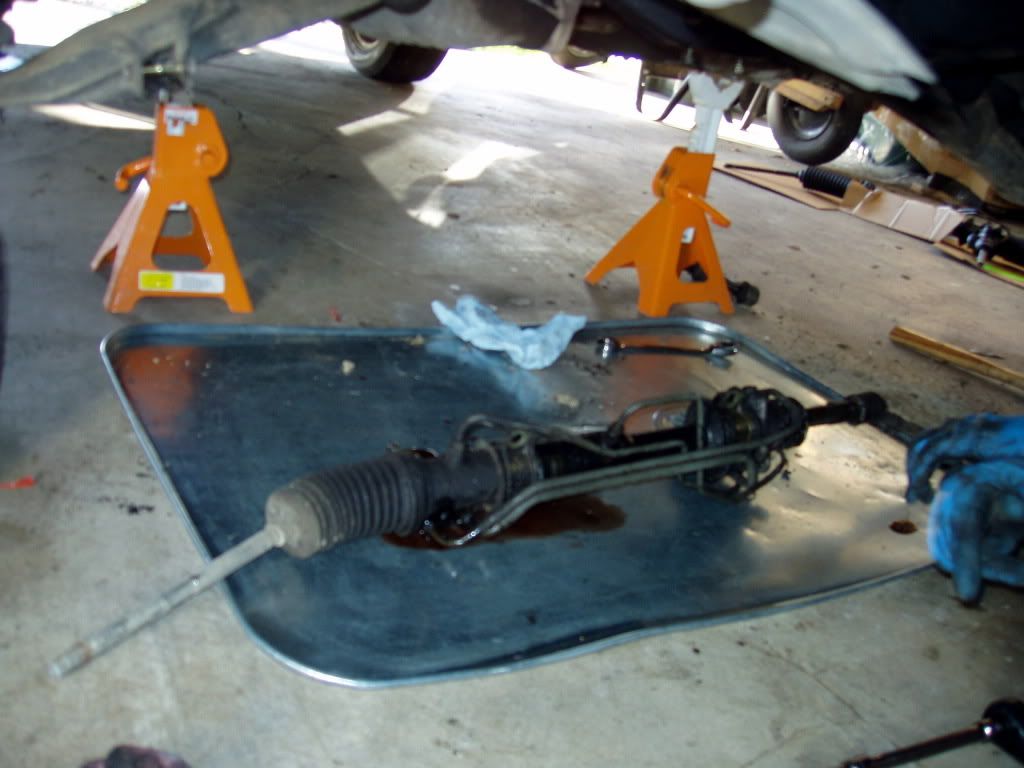
15) drop that nasty rack on the drip pan.
![Image]()
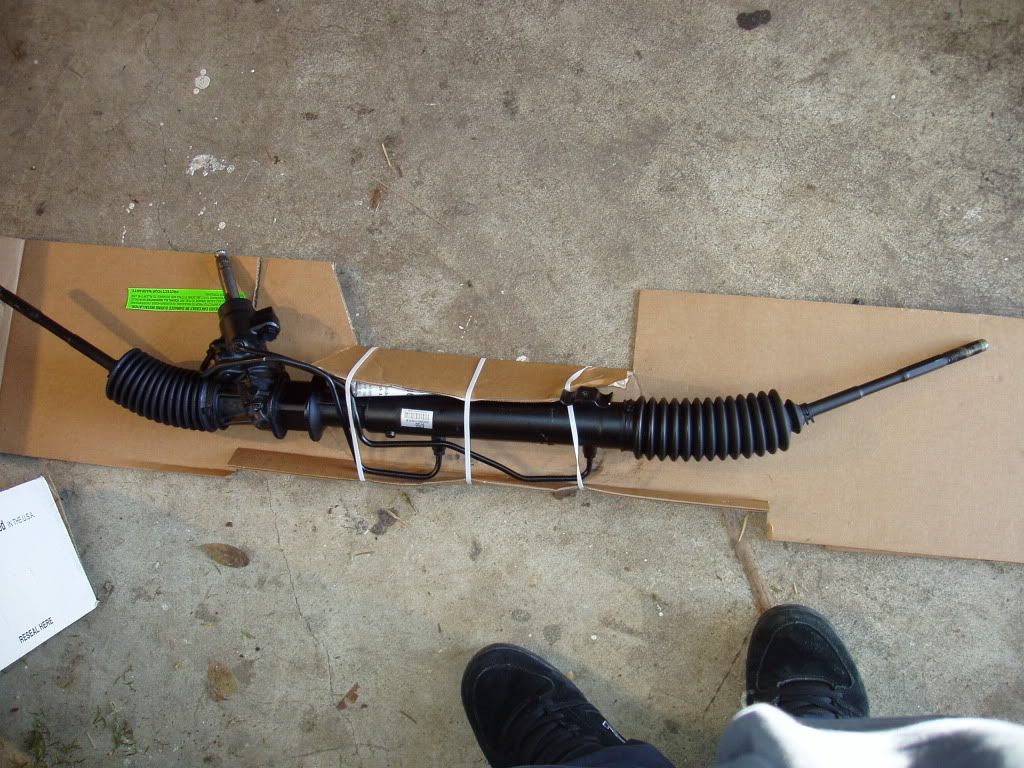
New Rack:
![Image]()
16) switch the necessary hard lines over to the new rack. clean them up, especially the fittings and install new O rings. (no pictures of this step, but its easy, just lay the two racks side by side and swap over)
17) install everything in the opposite order you took it off.
18) fill the PS reservoir with proper fluid (ATF in this case)
19) torque the wheels down etc...drop the car on the ground
20) crank the steering wheel side to side and check for leaks. make sure the reservoir is still at appropriate level
21) test drive time!
22) get a alignment done, you'll need it
Feel free to make comments/additions, i will go back and edit the original post if necessary
![]()
![]()
Disclaimer: If you dont know what you are doing, please dont hurt yourself and take it to a shop. I'm in no way responsible if you hurt yourself or others or damage your car following these procedures. Use at your own risk!
sorry for the poor picture quality, my camera blows
here's what we did:
1) Make sure your old rack in completely toast! do this by rallying the piss out of your car in the middle of the night and running over a rail road tie. Make sure a good amount of Power steering fluid is pissing on your exhaust, enough to make smoke come pouring out of your hood.
2) Man up and admit your screwed the pooch. go buy a new rack! (i dont have any pictures of the rallying part unfortunately)
3) jack the car up using jack stands on a level surface.
4) take the front wheels off
5) Take off the castle nut on your outer tie rod ends by first removing the cotter pin and then spinning the 19mm nut.
6) take a brass hammer and tap the tie rod ends out, if needed, spin the castle nut onto the tie rod end again so it sits flush with the beginning of the stud and tap on it, make sure not to damage the threads otherwise your buying a new tie rod end (may not be a bad idea depending on the condition of yours)
7) undo the lock nuts holding the outer tie rod end in place (19mm wrench i think)
8) Untwist the outer tie rod ends from the inner and count the number of turns it takes to come off (this comes in handy when putting them back on). Write this down somewhere!
9)Undo the exhaust manifold. there are 6 nuts holding it on the the heads (14mm deep socket) and two on the cat pipe (14mm bolts/ nuts) you'll need a 14mm wrench to keep the nut on the other side from spinning
10) undo the small black plate seen there (14mm bolt/nut)
11)Undo the front sway bar. there are through bolts on each end link that you can take off and one bolt on each of the two brackets holding it on to the chassis.

12) center the steering wheel and mark the steering knuckle and the input to the steering box. We did this but ended up not using the marks since we put in a new rack. Loosen the bolt clamping the joint onto the shaft. Note: make sure not to spin the steering wheel with the column detached from the rack, you may destroy your clockspring.
13) place a drip pan under the rack if you havnt already and undo the power steering lines. there are 2 lines, one takes a 17mm i think and one takes a 14mm. its impossible to hook it back up the wrong lol. subaru was thinking
14) Undo the 4 bolts holding the power steering rack in 14mm i believe

15) drop that nasty rack on the drip pan.
New Rack:
16) switch the necessary hard lines over to the new rack. clean them up, especially the fittings and install new O rings. (no pictures of this step, but its easy, just lay the two racks side by side and swap over)
17) install everything in the opposite order you took it off.
18) fill the PS reservoir with proper fluid (ATF in this case)
19) torque the wheels down etc...drop the car on the ground
20) crank the steering wheel side to side and check for leaks. make sure the reservoir is still at appropriate level
21) test drive time!
22) get a alignment done, you'll need it
Feel free to make comments/additions, i will go back and edit the original post if necessary


